ShoutyKid How Harry Riddles…

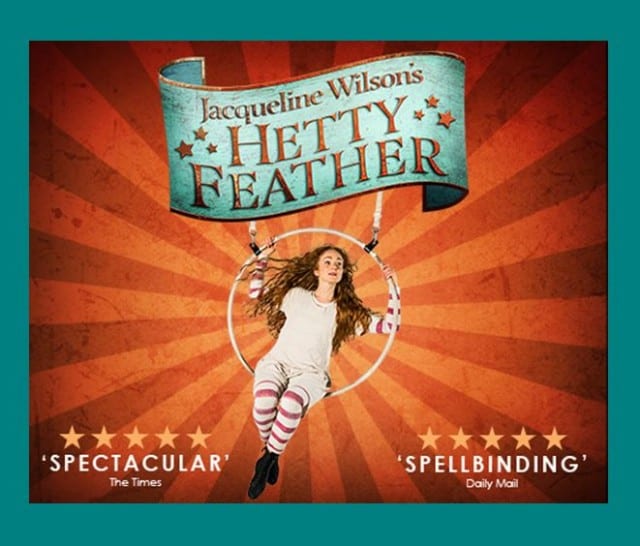
Fabulous Kids book, Hetty Feather, now on stage!

A Photo book is a beautiful way to keep and share your memories!
I am the official memory keeper in my family. I love being able to look back at images and letters and videos of family members. I keep scrapbooks for my children so that they will know about their childhood when they are older. I write them notes so that they will understand how I feel about them and have something to treasure when I am no longer around. I have hundreds of folders of images and videos on my computer. But I hate looking at them on a screen! There is something so much nicer about a book you can page through. A book you can linger over and sit back with a child on your lap to enjoy. Photographs should be shared, seen and enjoyed…not stored somewhere in folders or clouds.
I take hundreds of pictures at all our family events and also just during the ordinary business of life. Pictures of them in the park, sleeping in their beds, getting ready for school, throwing a tantrum..yes I record the good and the bad!
My first experience of making a photo book was for my wedding. I huge bulky album with hundreds of pictures all the same or similar sizes seems tedious and old fashioned. So I made a photo book. It is gorgeous and a treasured piece of our past. I love looking at it still after 13 years.
A few years back when we had just two children, I decide to make a photo book for my husband for Father’s Day. I love that it is a unique gift, a personal gift and I was right. It was a hit! Now 4 years later, I often discover my children, paging through this book and exclaiming “I remember that!” or ” Look at you!” and giggling. It makes us smile. I makes us feel a sense of belonging to our little family. It takes us on little memory lane trips and we end up chatting about the event surrounding the images. The only trouble is that the only picture included of my youngest in this particular book, is his scan picture! He was born almost exactly a month later.
So this year, I was pleased to be given the opportunity to create a photo book yet again through a promotion by Snapfish, an online company providing personalised gifts and cards . So that’s another Father’s Day gift sorted that says thanks Dad for the support, we love you, and shows him how much fun he is. I wanted it to show a little bit of all of us. What has been happening over over the last 5 years and to spark memories of places, people and events we have shared as a family.
I set about trawling through the thousands of pictures that had been taken since July 2010 to pick the silliest, cutest and most adorable pictures I could find of all of us. I also included pictures of any cute notes they had written in their lovely childish handwriting. I don’t know if it is like this in your home, but I am the photographer. Which means there are precious few pictures of me. I have made the conscious decision to change that from now on and have begun to take selfies (I hate selfies) and pass the camera to the children or my husband so that at least I will feature in our future books a little more.
After selecting 440 pictures, I chose the 40 page photo book option. It is a large photo book which means I could choose more pictures! yay.
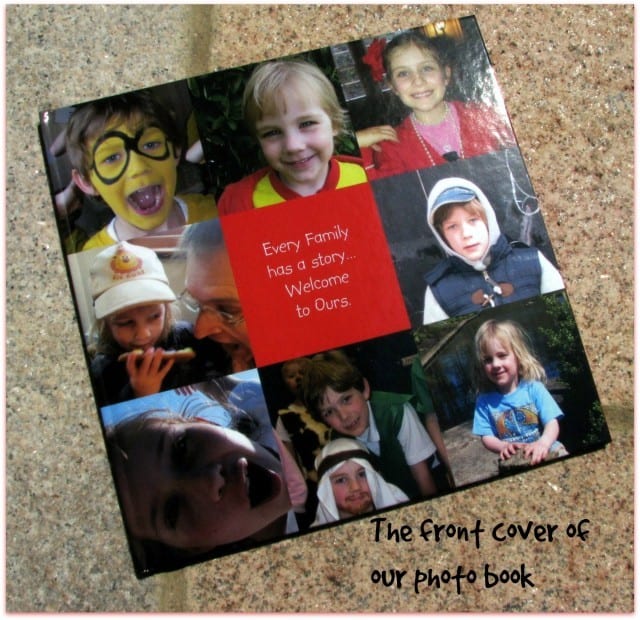
First I chose the cover type. I settled on a glossy red, hard cover book. There are options for other cover materials such as leather and linen but I liked that I could add pictures to the cover. Using the hard cover enabled me to customise the front with my own text and 8 images. I chose images of our three beautiful children and the text reads; Every family has a story…Welcome to ours.
Next I wrote a title on the spine of the photo book. I included our family name and the years covered in the book (2010-2015) Very handy if your book is going to be stored vertically on a shelf. And if you create a series of photo books it will help keep them in chronological order.
To create the inside of the book, I choose one of the easy to use, ready made themes. Because it is a book filled with children and contains bright colours within the images, I chose a colourful selection of pages in soft colours to compliment the pictures. The book is auto filled with background page colours and you then add your images.
Because I had chosen so many images and did not want to do without any of them, I used the page layout templates that allowed me to squeeze as many images onto a page as possible. I also manipulated some of the ready-made page layout templates to fit more images in. The pages range from 4 images on a page to 9 images on a page. Although I wanted to use as many pictures as possible, I did not want to make them so small that you could not enjoy the picture. Using the Edit picture feature, I was able to crop, move and resize the pictures to suit the size of the picture box that would contain it. This means that though some pages have 9 images, You can still clearly see the picture subject.
It is worth mentioning that you can manually drag and drop your images into the photo boxes or use the auto-fill option. When using auto-fill, the entire book is automatically filled with images you have selected. This is super quick and very easy. The only issue that I could see is that the images are placed randomly and perhaps you would prefer organising them into events or themes. I like to choose, so I dragged and dropped my images manually.
When images are placed into the photo box on the page layout, the resolution of the image is assessed and you get a warning pop up informing you if the image is not of a high enough resolution to print effectively onto paper. I had a few that were not exactly perfect, but I wanted them included anyway so I just put them into the smallest photo boxes on the layout and hoped for the best. They have turned out fine and I am very happy with them.
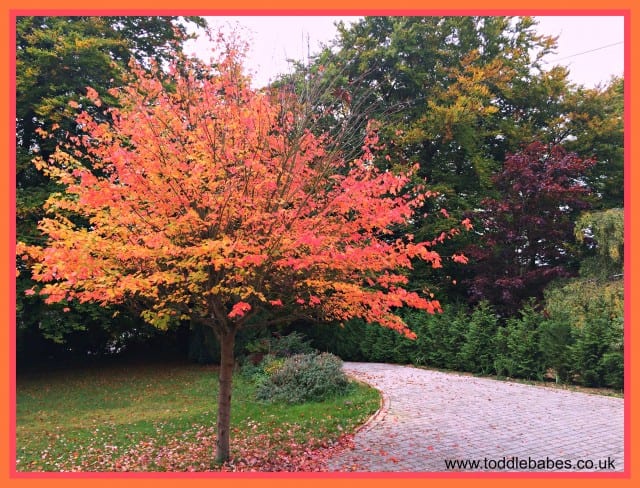
I looked into the elements and other decorative items available on the Snapfish website and was pleased to find stickers and phrases I could drop onto my completed pages to add a little fun. This reminded me of scrap booking as I often make tags to include on pages which add a little more visual interest. I chose words like “splash” for a swimming and beach themed page. I used “Daddy’s little boy” on a page with my husband and our sons. On a particularly Autumnal picture , I used the words “falling leaves”. There were many to choose from for fun, child-like pages, weddings, parties and everyday albums. They were easy to select and easy to place…drag and drop!
When it was all done and how I wanted it, I placed my order and am thrilled to say that it arrived within a week. Now all I have to do is have my children write notes in the front cover and wrap it up for Father’s Day. I can’t wait to see Dad’s face when he opens the book and is able to sit with the children, enjoying flicking through and sharing memories with them. I just know it will become a favourite book on the shelf.
The entire process, from start to finish, was simple and the end product looks lovely. I’d say that selecting the photographs took longer than putting the book together complete with embellishments! If you’re not one for photo books, you can also make mugs, calendars, canvases, photo cards, posters, wall art or even jigsaw puzzles!
You’d better hurry if you’d like to get yourself a fabulous photo gift, the last order date in time for Father’s Day is 15th June 2015.
I am a preschool and primary school teacher and mum to 3 children. I have been involved in education since 1997 and have trained in a variety of educational specialist areas. It is with this expertise that I write articles to help parents and educators provide quality learning experiences for the children in their care.


