Fruit Cocktail Christmas Cake

15 Fun Christmas Eve party ideas
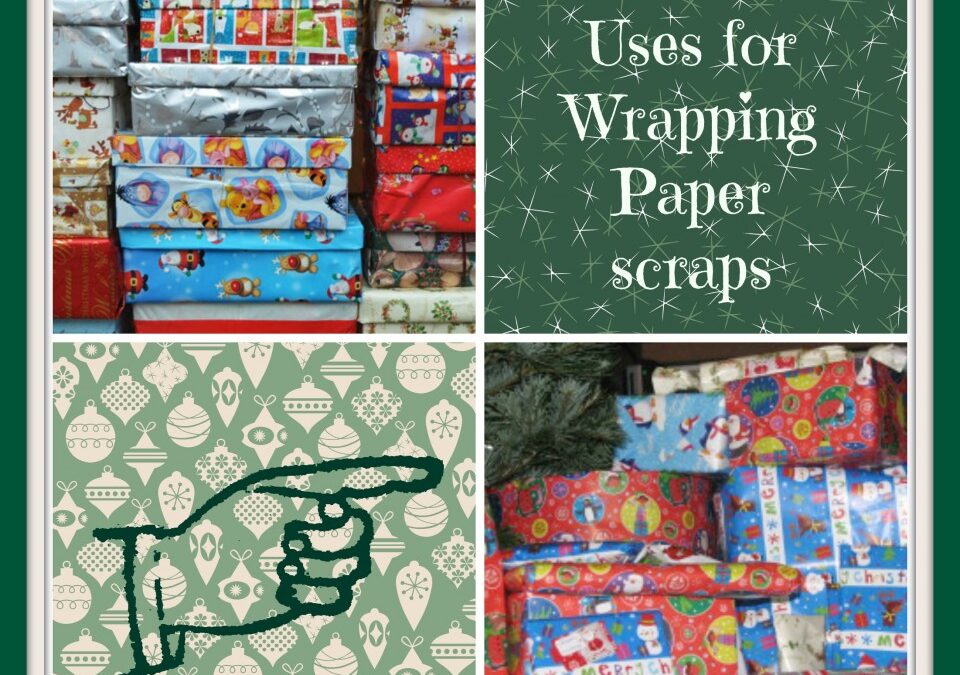
Do you have a stash of leftover bits from wrapping paper? Don’t like to throw them out but have no idea what to do with them? In this article I have some fabulous ideas to help you make use of leftover scraps of paper after Christmas. I also added a little tip for making your own wrapping paper-or rather, getting your children to make it!

Here are some crafty, practical and environmentally conscious ideas for those scraps:
- Take all those little pieces and make a quilt type wrapping with all the scraps by taping them together.
- For paper that has images or characters on it, cut out the figures or part of the little piece of wrapping paper and glue it to a tissue wrapped package.
- Cut out the images from the wrapping paper. Glue one on brown paper bags/sacks and use as gift bags.
- Use those scraps to make name tags. Cut the scraps into squares, fold them in half, write the two and from on the bottom half, and tape it onto the gift.
- Cut out the pictures of last years Christmas cards. Then take the picture, punch a small hole in the corner, write your to and from on the backside, and attach the whole thing with ribbon.
- Use it as packing material for packages. Send all the scraps through the shredder. Use them to provide some cushion when packaging. (If you don’t have a shredder, wad them up and use them as padding in the box as balls of paper)
- Use them as a contrasting strip on a package – this works best if you have one plain paper and one patterned one. Just fold it neatly into a strip and wrap it around the parcel as if it were ribbon. They you can put a piece of contrasting ribbon on top.
- A collage memory box is a great way to use wrapping paper scraps. You will need a small box, wrapping paper scraps, glue, scissors, and photos. Start by covering the entire box in wrapping paper scraps. Then add the photos on top of the wrapping paper to add the memories of your holidays passed.
- You can make several different types of christmas ornaments with unused wrapping paper scraps. Try covering a Styrofoam ball with a piece of unused wrapping paper. You can glue several pieces to make the ball covered in collage. You can also gather the ends of the wrapping paper scrap together and tie with a ribbon. Simply add a hook by sticking it into the ball with some glue.
- Cardboard tree ornaments. You will need is wrapping paper scraps, glue, scissors, cardboard, and a hook. Simply cut the desired image or shape out of the wrapping paper and glue it onto a piece of cardboard. Also glue unused paper to the back of the cardboard. Cut the excess cardboard and glue the hook to the back.
- Christmassy magnets: You will need magnetic sheets, wrapping paper scraps, glue, and scissors. Cut the wrapping paper into shapes, or cut out images or words from the wrapping paper. Glue it to the magnetic sheets and let it dry completely. Then cut the images out.
- Scrap Art: Choose a design or image to work with. This could be a fish, a rooster, a sunshine or a car.Lightly draw an outline of your image onto the poster paper – remembering to keep it simple. Cut your wrapping paper up into shapes that you can use to create your image. Take some time to work out all the details. When you are happy with your choices, glue the wrapping paper shapes down onto your poster paper drawing.
- Cover a frame: You will need wrapping paper scraps, a picture frame, glue, a paintbrush, and scissors. Start by removing the frame from the glass and backing. Then coat a scrap of paper in glue using the paintbrush. Place it lightly on the frame. Continue covering the entire frame. Remember to fold the excess paper over the inside and outside edge of the frame for a finished look. When the glue completely dries place a picture in the frame and put it back together. Great for Christmas quotes/pics to be used each year as Xmas decorations.
- Lampshade covers: You will need scraps of unused wrapping paper, scissors, glue, a paintbrush, a lampshade, and paint. Start by choosing images from the wrapping paper scraps and cutting them out. Then glue them randomly to the lampshade in various spots. Now use the paint and brush to lightly cover the edges of the wrapping paper. Then apply paint to the rest of the lampshade that is not covered in wrapping paper. Allow the paint to dry before turning the lamp on.
- Larger pieces can be used as covers for school books.
You can also make your own wrapping paper
Need wrapping paper in a hurry? Here’s how to use paper and paints to make your own unique wrapping paper perfect for any occasion!
Age group: 18 months+
What you need:
- Large sheet of coloured paper (white is fine too, coloured just looks more cheerful)
- A large flat box
- marbles
- paint
What to do:
- Lay the sheet of paper in the box
- Roll one of the marbles in some watery paint
- Put the marble onto the paper in the box and gently tilt the box so that it rolls side to side and leaves trail of paint to make a pattern.
- Use a new marble in a new colour to add more colourful trails.
* Try flicking paint off a brush onto the paper for a fun splatter effect.
I like to get a roll of brown paper and then measure of the size of the paper I will need for a particular gift. I cut it and give the children stamps, stencils, paints, pens or crayons. They decorate the sheet with whichever media I give them and voila, we have a unique homemade wrapping paper to wrap our gift in.
Be sure to leave your homemade masterpieces to dry and then wrap your gifts. Your child will love making the wrapping paper and the recipient of the gift will love it too!

I am a preschool and primary school teacher and mum to 3 children. I have been involved in education since 1997 and have trained in a variety of educational specialist areas. It is with this expertise that I write articles to help parents and educators provide quality learning experiences for the children in their care.


