
3 in 1 Pumpkin, Squash or Apple

Make an Apple Collage
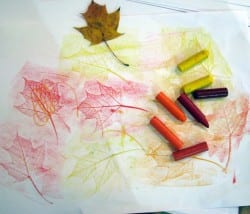
This is a very easy way to make a realistic looking leaf, using a real leaf as the template , a piece of paper and a crayon (or crayons). Read on to find out how to make them and check out the ideas for cute Autumn crafts using your rubbings.
Age Group: 2 years+
What you need:
- a nice leaf
- paper
- crayons
- masking tape (for younger children)
What to do:
1. Find a nice leaf (get some spare in case it breaks)
2. Put it on any flat surface (desk/table/kitchen counter)
3. Cover it with a piece of paper (and tape it down so it does not move about)
4. Use the flat part of the crayon and colour over the paper
5. The leaf will appear on the page
Okay, so now you have a pile of leaf rubbings…what can you make with them?
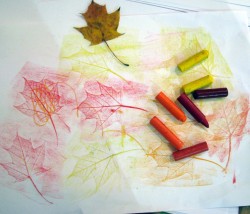
Tips and Ideas:
- After each leaf appears, move the paper and use a new colour. Soon you will have a page full of different coloured leaf rubbings.
- Cut out each leaf when it is done and stick it to a ready made tree trunk made of brown paper. You could make the tree as tall as your child and cover it with many coloured leaves. Remember for an Autumn theme to stick to red, brown, yellow and orange.
- Stick them onto a ring shaped piece of card to create a welcoming Autumn wreath. Decorate with conkers, acorns, twigs and other bits found on nature walks. Hang it on your door using a cheerful orange, red or yellow ribbon.

I am a preschool and primary school teacher and mum to 3 children. I have been involved in education since 1997 and have trained in a variety of educational specialist areas. It is with this expertise that I write articles to help parents and educators provide quality learning experiences for the children in their care.


